
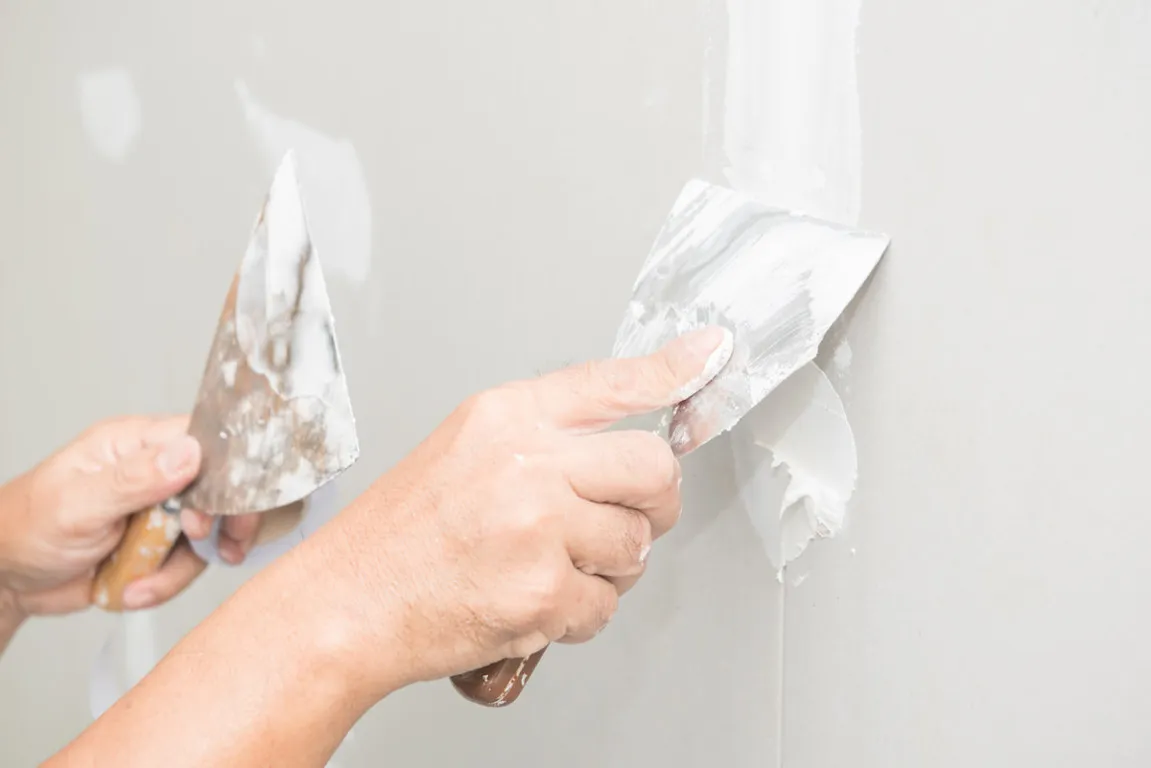
Uneven and wavy wall surfaces can be a challenge when decorating a house. In addition to reducing aesthetic appeal, uneven walls, especially over large areas, can make the entire room look untidy.
Beyond aesthetics, uneven walls need prompt repair to maintain structural strength. Environmental factors, such as humidity, can cause walls to become uneven. However, there is no need to worry because walls can be easily leveled again. Read the full explanation here.
Why Do Wall Surfaces Become Uneven?
Several main factors can make your house walls uneven and appear wavy. Some of these factors can actually be prevented from the start, such as during the initial construction phase.
However, wall unevenness can also develop later on due to environmental factors. Here is a detailed explanation.
1. Construction
Uneven walls often result from errors during construction. For example, they may result from unsuitable material selection, incorrect construction techniques, crooked bricklaying, or forced drying.
For example, using low-quality cement and sand can weaken the mortar’s adhesive strength. This can create air pockets inside the wall, causing bulges or voids. Additionally, if the brickwork is not laid straight from the start, the plaster layer applied over it will also be crooked, resulting in a wavy wall surface.
Therefore, use high-quality cement such as Semen Merah Putih Watershield, a super-premium multipurpose cement that helps ensure buildings are sturdy, durable, and require minimal maintenance.
Read also: 4 House Balcony Renovation Tips
2. Cracks and Damage
Cracks or physical damage to the wall structure can also cause an uneven wall surface. Unfixed hairline cracks can let air and moisture penetrate, causing the wall plaster to peel. Even worse, if the cracks are deeper, the wall surface may shift.
3. Expansion
Constant exposure to intense sunlight can cause cement and wall paint to expand. If the wall lacks sufficient expansion joints, this pressure can cause the plaster layer to lift, bubble, and become uneven.
4. Moisture
Moisture is a leading cause of various wall problems. Moisture trapped inside the wall will weaken the plaster’s adhesion, causing it to soften, become brittle, and eventually peel off. Not only does the plaster peel off, but the wall also becomes rough and pitted, losing its smooth finish.
Read also: Green Open Spaces: Definitions, Benefits, and Impacts
How to Smooth Out Uneven Walls
Smoothing out uneven and bumpy wall surfaces is actually quite easy and something you can do yourself. The key lies in using the right techniques and following the correct steps.
To address wall unevenness caused by moisture, hairline cracks, or other issues, follow these steps to smooth out uneven walls:
1. Checking
First, check the wall's condition. Determine whether the unevenness is caused by peeling paint, flaking plaster, efflorescence, or cracks.
If the wall is uneven because of moisture or a leak, address the source first before smoothing the surface. This check helps prevent recurring damage, making the repair more effective.
2. Cleaning the Wall Surface
Clean the wall surface of dirt, dust, mold, or oil stains. If left on the surface, these contaminants can affect the putty’s adhesion. Use a damp cloth or a soft-bristled brush to scrub away persistent stains.
When there is old, peeling paint or loose plaster, scrape these areas away first. If the wall has mold, apply an antifungal treatment first to prevent the problem from spreading. Once the wall is clean, let it dry completely before moving to the coating stage.
3. Applying Wall Putty
Applying wall putty is an important step to ensure the wall surface is smooth and even. Wall putty serves two purposes: it fills hairline cracks and small holes while smoothing an uneven wall surface.
Putty can seal the plaster's pores, creating a smoother wall texture that’s ready for painting. Use a putty knife to apply a thin, even layer of putty across the entire uneven wall surface. Next, press firmly to ensure the putty fills in the wall’s crevices.
Apply the wall putty in stages, using 1–2 thin coats per application to prevent cracking as it dries. Avoid applying a single, thick layer of wall putty all at once.
To ensure the wall putty goes on smoothly, evenly, and stays that way, use a wide putty knife to cover larger surface areas. You can also shine a light from the side of the wall to spot any uneven spots.
Read also: 7 Types of Wall Materials: Understand Their Pros and Cons!
4. Applying a Protective Coat
As a finishing step, once the putty is completely dry, smooth the wall’s surface with fine-grit sandpaper, then apply a protective coat. This coat helps seal the putty to prevent it from wearing away easily while also protecting the wall from environmental factors such as humidity, dust, and sunlight.
For the best results, use a protective coating that is mold-resistant, water-resistant, and easy to clean. This finish helps keep walls smooth and free from recurring damage.
So, that’s how to smooth uneven walls on your own for the best results. To prevent uneven walls in future projects, choose skilled workers and the highest-quality materials.
Choose Semen Merah Putih Watershield, a super-premium, multipurpose cement featuring water-repellent technology. This technology makes buildings stronger and more durable while requiring minimal long-term maintenance by protecting them from three sources of seepage: outside, inside, and from the ground.
Semen Merah Putih Watershield can be used in a variety of applications, including foundations, concrete slabs, cast-in-place concrete, bricklaying, plastering, and rendering. The combination of water-repellent technology and its super-premium quality makes Semen Merah Putih Watershield the best choice for your residential projects.
Contact us now for the best construction solutions for your projects. We are ready to support you in bringing your construction plan to life with the best materials and services.
Read also: What Causes the Second Floor to Shake? Find Out Here!