
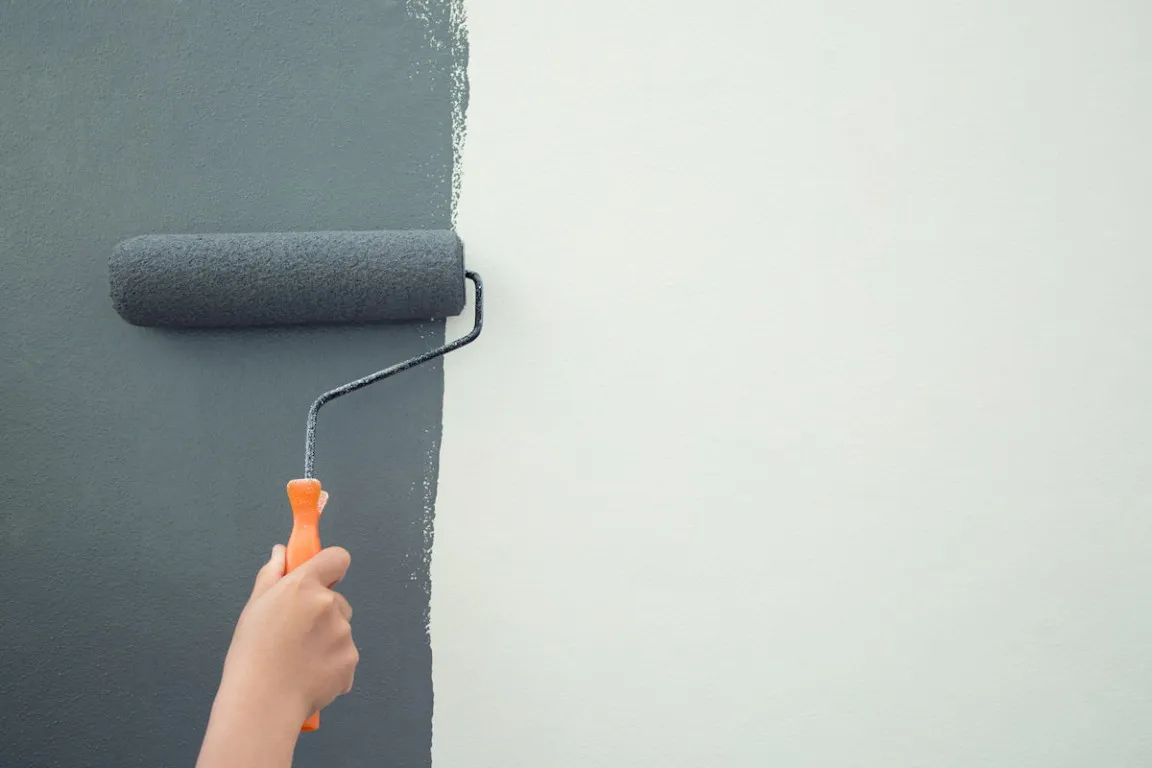
House renovations often involve repainting the walls. This step generally refreshes the room’s appearance and serves as the finishing touch to the renovation process.
It not only enhances aesthetic appeal but can also breathe new life into surfaces that may be peeling, chalky, or damp.
At first glance, painting walls seems easy. Just dip a brush or roller into the paint and spread it evenly across the wall’s surface. Yet, painting is more than just applying paint to a wall.
Proper painting techniques are essential to ensure the final result is smooth and neat and protects the walls from premature damage. Read this article to the end to learn the painting techniques for house walls to achieve the best results.
Types of Paint
Before you start painting, make sure you understand the type of paint you'll use. Here are several types of paint based on their intended use:
1. Primer
Primer is the base coat applied first to the wall before you apply colored paint. Think of primer as the foundation of the painting process. This type of paint is usually white or gray.
Primer provides extra protection for the wall surface, blocks alkaline substances (acids and bases) that can damage the topcoat's pigments, and acts as an adhesive so the topcoat doesn't peel off easily.
Read also: How to Maintain Concrete Floors to Keep Them Clean and Shiny
2. Decorative Paint or Finishing Paint
This type of paint is commonly available in a variety of colors and is intended to enhance appearance and protect wall surfaces. It serves as the final (finishing) coat.
It is available in several sheen levels: matte, satin, and glossy. Sheen differences affect not only appearance but also characteristics, uses, and maintenance requirements.
First, matte paint does not reflect light and has a smooth texture, which can conceal wall imperfections such as ripples, hairline cracks, and cement patch marks.
Meanwhile, satin paint has a subtle sheen that looks like an eggshell in the light. It is durable and easy to clean while still concealing wall imperfections.
Lastly, glossy paint reflects light like a mirror and has a shiny appearance. It is very hard, water-resistant, and easy to clean. However, this type of paint tends to highlight any flaws or bumps on the wall.
3. Mold-Resistant Paint
Mold-resistant paint is formulated with additives that can inhibit and prevent the growth of mold, mildew, and bacteria. This type of paint is ideal for use on walls in high-humidity areas, such as bathrooms, kitchens, and laundry rooms.
4. 2-in-1 Paint
This innovative paint combines a primer and a topcoat in a single product. It makes painting walls more convenient and can significantly reduce job time.
However, this type of paint works best on walls in good condition. If the walls are cracked or damp, it is best not to use this type of paint.
5. Waterproofing Paint
Waterproofing paint is designed to prevent water seepage and is suitable for use on the exterior of a house or on walls directly adjacent to open areas to prevent rainwater from being absorbed into the walls.
Wall Painting Supplies
Before you begin, make sure you have all the necessary wall painting supplies ready to avoid stopping mid-project to return to the hardware store.
Here are some wall painting supplies needed:
- Brush. Used to paint corners and edges of walls that require precision.
- Paint Roller. A tool for applying paint evenly over large areas.
- Extension Pole. A handle attachment for the roller to reach high areas of the wall.
- Wall putty (spackle). Used to fill hairline cracks, small holes, and pitted wall surfaces.
- Sandpaper. Used to smooth out wall surfaces or uneven areas where putty has been applied.
- Protective plastic sheeting. Used to protect walls, floors, and furniture from paint drips.
- Folding Ladder. A tool to help reach areas of the wall that require detailed brushwork.
Methods and Techniques for Painting House Walls
To ensure your paint job looks professional, has even color, and is long-lasting, follow these methods and techniques for painting house walls:
1. Make Sure the Wall Plaster Is Completely Dry
If your walls have just been finished, make sure the plaster layer is completely dry before you start painting. Newly plastered walls need time for the natural carbonation process to complete fully.
If you rush to paint while the walls are still damp, the high water and alkali content in the cement will become trapped. As a result, the paint film will be prone to damage, peeling, or uneven color.
A sign that the walls are ready to be painted is that they have turned a uniform light gray color, with no areas that appear wet.
Read also: 11 Types of Cement and the Functions in the Construction
2. Check the Condition and Moisture Level of the Walls
Before you start painting, check your walls for signs of moisture or seepage. If the old paint appears to be peeling, bubbling, or covered in mold, this indicates a moisture problem that must be addressed first.
First, scrape off all damaged old paint, then thoroughly remove the mold. After scraping and cleaning, let the wall air out for 2–3 days so that any remaining moisture inside the wall can disappear.
Next, apply a moisture sealer or special primer to prevent moisture from seeping back in from the inside. If scraping left the wall surface pitted or uneven, fill the areas with wall putty, then sand it smooth once it dries.
3. Clean the Wall Surface
Properly painting a wall starts with ensuring the wall is dry and smooth. Next, clean the entire wall surface of any remaining dust, dirt, and lime residue. Stains on the wall, especially oil stains, will prevent the new paint from adhering properly.
To clean it, simply wipe the entire wall surface evenly with a slightly damp cloth. After wiping, wait a few moments until the wall surface is completely dry.
4. Protect Areas You Do Not Want to Paint
Before painting, protect areas you do not want to paint to prevent splatter. Use plastic sheeting to cover important parts, such as light switches, window frames, doors, and ventilation vents.
Lay down a large tarp or protective plastic sheet over the floor and any furniture in the room. It is better to anticipate and prevent paint drips from reaching the floor to save time on cleanup once the painting is finished.
5. Prepare Brushes and Rollers as Needed
To paint large wall areas quickly, use a paint roller. Choose a short-pile (thin) roller for a smooth finish on interior walls, or a long-pile (thick) roller for rough, textured wall surfaces.
Meanwhile, to reach detailed areas, such as room corners, ceiling edges, or window frame edges, use a small angled brush to ensure a neat, precise finish without overspill.
Read also: Tips for Renovating the Living Room to Make It More Aesthetic!
6. Stir the Paint Until Even
Stir the paint thoroughly before use to prevent clumps from settling at the bottom of the can. This stirring process helps to combine the color pigments and the binder evenly.
This ensures the paint application looks as solid as possible and avoids a patchy finish.
7. Apply Primer
Primer is important, especially if this is the first time painting a newly finished wall. This is because cement has a high alkaline content and is corrosive. The primer acts as an alkali-resistant barrier, protecting the topcoat from damage.
A wall primer acts as an “adhesive,” ensuring the topcoat adheres well and does not peel easily. Applying a primer can also save you money by helping seal the pores in the concrete wall. That way, just two coats of topcoat are enough to achieve a rich, opaque color.
8. Use the Right Wall-Painting Technique
When you start painting with a roller, always begin at the top of the wall and work your way down. This technique is useful because if any paint drips or runs from the top, you can smooth it out immediately before it dries.
In addition to the direction of your strokes, apply the paint in a W or M pattern, then slowly blend it into the surrounding area. This crisscross pattern helps distribute the paint thickness evenly across the entire wall surface.
Avoid painting with straight vertical strokes (up and down) continuously, as this will leave roller marks that make the finished result look uneven.
That concludes our comprehensive guide on the tools, methods, and techniques for painting your house walls, which you can apply to your own house project. Beyond paint quality, it is also important to ensure the cement quality is high enough to guarantee sturdy, durable walls.
Therefore, trust Semen Merah Putih Watershield, a premium-quality multipurpose cement that makes buildings stronger, more durable, and low-maintenance.
Semen Merah Putih Watershield is manufactured using water-repellent technology that protects against seepage from three main sources: the outside, the inside, and the ground.
Semen Merah Putih Watershield is ideal for wall renovation because it suits a variety of applications, including plastering, rendering, foundations, concrete slabs, and casting.
We are ready to provide the best services and materials to help you bring your dream project to life. Contact us to consult your construction needs!
Read also: Size, Design Guide, & Tips for A Comfortable Prayer Room at Home