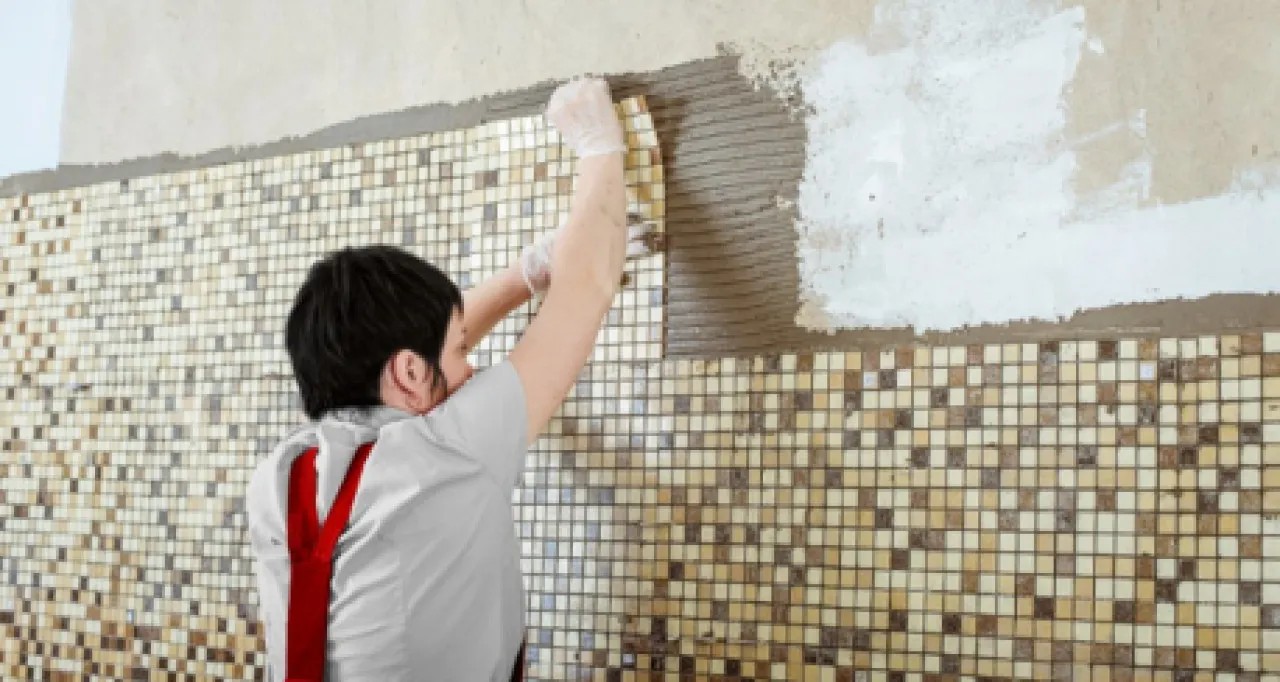
Wall and floor are two building elements that dominate the whole building. A lot of people choose to put these two elements as main focus when decorating a room. There are some ways that you could use to decorate walls and floors, one of which is using ceramics. The ceramics used are usually plain ceramic sheets, but in fact, mosaic ceramic tiles could also be a good option for house decoration. Mosaic ceramic tiles are available in various interesting color combinations, textures, and patterns that could enhance the appearance of your building. This kind of ceramic is usually used as a decorative element, or as a decoration on specific areas, such as bathroom wall, kitchen countertop wall, and bed headboard. You could apply this decoration on your own at home by following these simple steps:
- Preparation
Before applying mosaic ceramic tiles, do not forget the tools and materials needed, such as mosaic ceramic tiles in a sufficient size, cement mixture, grout filler, cement trowel, cement shovel, bucket, nylon based brush, plywood board to flatten the tiles, a piece of cloth, and some water. Make sure that the area is completely smooth and the surface is even. Then, clean the surface well until the wall is free from dirt. A smooth and clean surface could easen mosaic ceramic tiles application process and result in a more durable installation.
- Ceramic Installation
After the preparation is done, start by pouring a layer of cement on the desired area. This layer does not have to be too thick, you just need about 1-2 cm layer of cement, just like what you need when applying normal ceramics. After the cement mixture is applied thoroughly, put the mosaic tile sheets on top of it. If the area is vertical, put a block to hold the ceramics in place and prevent it from falling during the drying process. After the ceramic tiles are placed on the area, put a plywood board on top of it and push the tiles down to flatten the surface and make it even. Repeat the same process until the whole area is covered with mosaic tiles. Use a bigger plywood board to flatten a bigger area, so the result could be more even.
- Cement Drying and Finishing Process
After all the mosaic ceramic tiles are installed properly, let the cement dry for about 1-2 days. If the cement has completely dried, fill the gaps in between the tiles with grout filler. Avoid putting too much grout filler in the gaps, because a flat gap could make the tiles look unattractive. Instead, make the gaps look concave a little bit. After the gaps are filled properly with grout filler, let it dry for about 30 minutes and then clean the tiles with wet cloth. Let the grout filler dry completely for at least two hours, and brush the tiles surface with nylon based brush to get rid of any excess cement. Clean the leftover grout filler using cement scraper, and you are finished installing the tiles.
Beside its easy application, mosaic ceramic tiles also have some other advantages. This kind of ceramic is easy to cut using only scissors to adjust with a specific area, because the base is made of net. Mosaic tiles are available in various colors and patterns, from geometric shapes, letters, to abstract patterns. This kind of ceramic also does not absorb too much water, resulting in easier to clean and longer lasting tiles. For a longer lasting and stronger mosaic tiles application result, do not forget to use Semen Merah Putih, premium quality cement.


